Silhouette, Shadow and Reflection
Shoot at least 20 images for each of the following techniques: Silhouette, Shadow and Reflection. Create 3 separate slide show on weebly for each of the techniques.
|
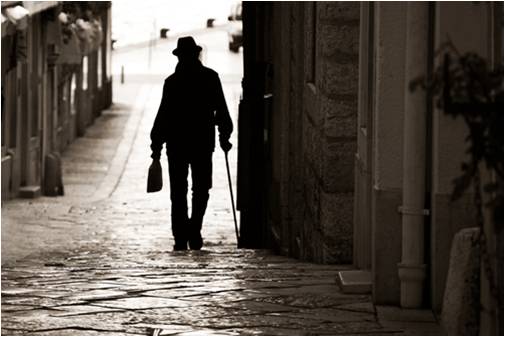
Silhouette: Bright light behind your subject is the easiest way to create a silhouette. A few places you can find it:
· In a open door · In front of a window · In front of the sun, especially when it is low in the sky, just above the horizon Once you find the light, let your subject go. Let them play. Let them pose. Or simply find a scene with interesting objects. Set the cameras exposure to -2 stops to help get a black silhouette. |
|
Shadows are not simply a dark mass that borders the light. Rather, shadows are an entity as alive as the light. It is the shadows that shape the light, draw attention to the light, and integrate with the light to produce striking photographic opportunities. If we are to reach our full potential as photographers, we must think as much in terms of mastering the shadows as we do of mastering the light. This article details five uses of shadows in creating dynamic photos. § Contrast and Drama § Focus § Directing the Attention § Revealing Form § Revealing Texture One of the most powerful uses of shadows is for the creation of contrast to produce a dramatic effect. People’s attention is automatically drawn to areas of high tonal contrast. However, tonal contrast can not occur without shadows. Thus, it is the interplay of light and shadows that creates the attention grabbing contrast. An example of this use of shadows would be a dramatic sunset where the sun punches through gaps in the clouds creating areas of light which are surrounded by dark areas where the cloud cover is heavy. Read more at: http://www.picturecorrect.com/tips/tips-for-using-shadows-in-photography/ |

|
|
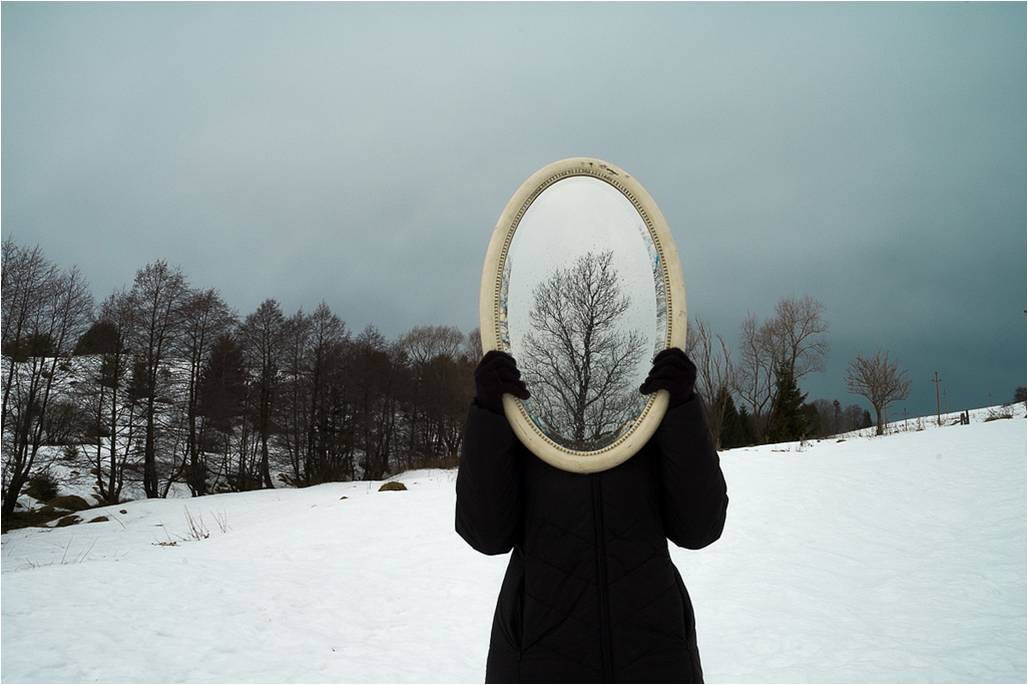
Reflections come in many different forms and guises, varying from dramatic landscape shots to detailed macro compositions, but there are a few fundamental techniques which will help you achieve better results when dealing with reflections.
With regards to depth of field, try to select a high f-number such as f/11 or higher, this will help level out the subjects of the shot so the eye perceives them in closer relation, enhancing the reflection effect. Focus depends a lot on the distance between the subject and the reflection. First, try focusing on the subject, then trying focusing on the reflection. This should produce slightly varied results and your preference will depend on how much attention you want to draw to the reflection. Finally, think about the angle of the light and how it affect the reflection. In a studio setting you can manipulate this to emphasize the reflection, but in a natural setting you may want to explore different viewpoints to find the angle at which the reflection is most visible. Read more at: http://photography.tutsplus.com/articles/quick-tip-4-steps-to-remarkable-reflection-photography--photo-4358 |
